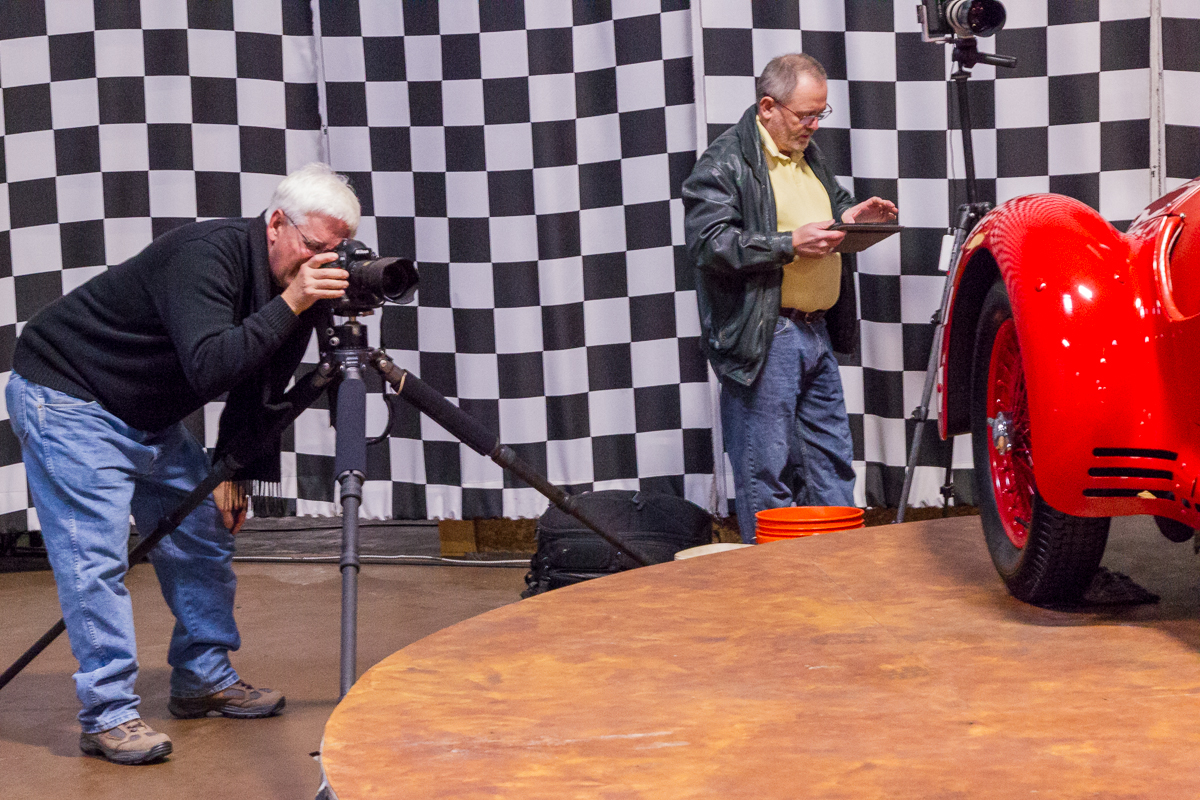
During a photo workshop, participants often show images taken during the workshop at the end of the day. This outlines one procedure for doing this quickly when the participants either do not have laptops or do not have much time to review and edit their images prior to the discussion session.
The Workshop Process
- Have participants review their photos on the back of their camera and identify a few images for discussion. It helps to note the image number of the selects. Tell them this in advance, as some may want to make notes, chimp and note the images throughout the day.
- For each individual load their CF or SD card into the card reader.
- From the Lightroom Import module Uncheck All images.
- Check the individual images identified by the participant; this is where knowing the image number helps speed things along.
- Use the Shoot Name to identify the participant. If anonymity is preferred, use some type of unique identifier here to avoid image name conflicts.
- Copy images from the card to the target folder.
- Remove the data card from the reader, and load the next participant’s images.
- During the discussion return to Lightroom’s Library module and go to the Library Folder for the workshop.
- Select the first image, enter Full Screen display by typing the keyboard shortcut F
- Navigate between images by using the right- and left-arrow. Caution the up- and down-arrow also move through the photos, in case you get lost type the keyboard shortcut G to return to Grid display; find your place and type F to return to Full Screen.
The Setup
Install the latest version of Lightroom on a laptop, though these instructions probably work for versions as far back as Lightroom 3. I chose to use Lightroom over Bridge/Photoshop, because I believe it is simpler, requires less software yet still allows for exploring quick sample edits during the demonstration/discussion.
Use a USB high-speed card reader that can accommodate CF cards and SD cards (prefer USB 3.0 if available). These two card types should accommodate most users, but there are some outliers like Sony sticks. The issues with something like a 19-in-1 card reader can be speed and reliability, so it is a trade-off.
To segregate personal work from the workshop, create a new Lightroom catalog just for the workshop and create a separate (sub)folder to hold the photos.
To make things a bit smoother importing the participants photos, and to avoid the need to remember details, set up a Lightroom Import preset to:
- Specify the Source as the card reader.
- In the File Handling section configure for speed of loading
- Set “Build Preview” to Standard
- Uncheck “Make a Second Copy”
- In the Rename Files choose I template that allows text entry and has some counter. For example “Shoot Name – Original File Number” , will allow you to enter the participant name in the Shoot Name text box and use their camera’s numbering to help relate to what is on the back of their camera.
- Do not Apply (anything) During Import, as there is no need for metadata and a zeroed out image is probably the best point to start the discussion.
- Set the Destination to be the folder you created for the workshop photos. You might want to specify the “Organization” to Into one folder, in case someone’s camera’s date has not been properly set.
- Save this import preset and make sure to specify when importing the participant images.
Connect the laptop to the projector and test it ahead of time, including Lightroom Full Screen display. First to make sure you have all the required hardware and can get the signal from your laptop to the projector. Second you may find that there is a step-down in resolution when using the projector as a second monitor. Testing avoids unwelcome surprises and gives you the opportunity to refine the settings on both devices to make them optimal.

